RSpec Buildkite
Output RSpec failure messages as Buildkite annotations as soon as they happen so you can fix them while your build finishes.
Installation
Add the gem to your Gemfile, after rspec:
gem "rspec"
gem "rspec-buildkite"
And then bundle:
$ bundle
Or install it yourself as:
$ gem install rspec-buildkite
Usage
Add it to your .rspec alongside your favorite formatter:
--color
--require spec_helper
--format documentation
--format RSpec::Buildkite::AnnotationFormatter
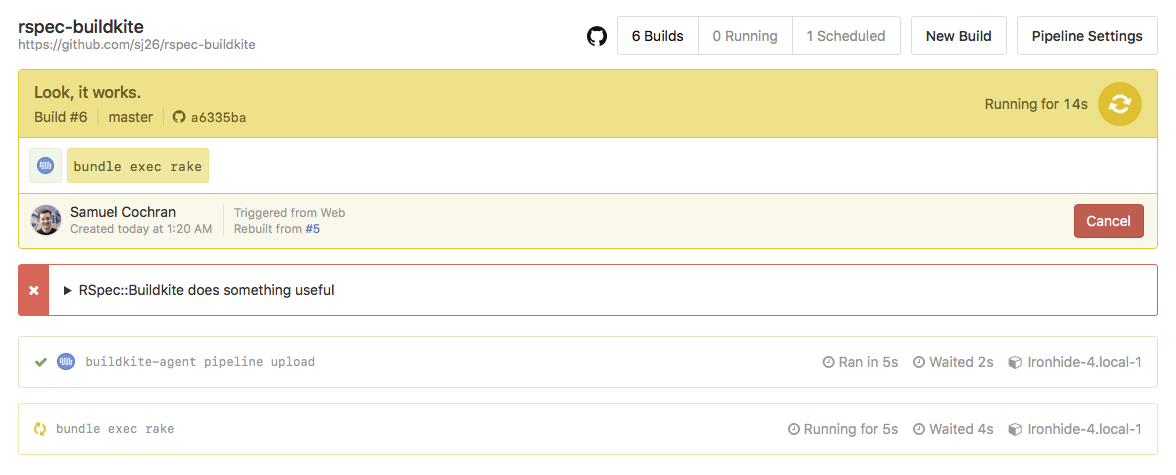
Now run your specs on Buildkite!
Docker & Docker Compose
If you run your RSpec builds inside Docker or Docker Compose then you'll need to make sure that buildkite-agent is available inside your container, and that some environment variables are propagated into the running containers. The buildkite-agent binary can be baked into your image, or mounted in as a volume. If you're using the docker-compose-buildkite-plugin you can pass the environment using plugin configuration. Or you can add them to the environment section in your docker-compose.yml, or supply env arguments to your docker command.
The following environment variables are required:
BUILDKITEBUILDKITE_BUILD_URLBUILDKITE_JOB_IDBUILDKITE_AGENT_ACCESS_TOKEN
Development
After checking out the repo, run bin/setup to install dependencies. Then, run rake to run the tests. You can also run bin/console for an interactive prompt that will allow you to experiment.
To install this gem onto your local machine, run bundle exec rake install. To release a new version, update the version number in version.rb, and then run bundle exec rake release, which will create a git tag for the version, push git commits and tags, and push the .gem file to rubygems.org.
Contributing
Bug reports and pull requests are welcome on GitHub at https://github.com/buildkite/rspec-buildkite.
License
The gem is available as open source under the terms of the MIT License.