PivotalTrackerPr 


PivotalTrackerのストリーIDとストリー名を取得し、カレントブランチのPullRequestを作成する
インストール
$ gem install pivotal_tracker_pr
使い方
- 下記の環境変数を設定しておく
PT_TOKEN:PivotalTrackerのアクセストークンPT_PROJECT_ID:PivotalTrackerのプロジェクトID
git commit; git pushの後、PullRequestを作ろうとするタイミングで、pivotal_tracker_pr create STORY_IDを実行するSTORY_IDが指定されてない場合、gitのカレントブランチ名から数値の部分を検索しストリーIDとして使われる- それでもストリーIDが取得出来なかった場合は、単に
hub pull-request --browseを呼び出すだけ
PullRequest内容
- デフォルト内容
| コマンド実行後 | githubで作成した内容 |
|---|---|
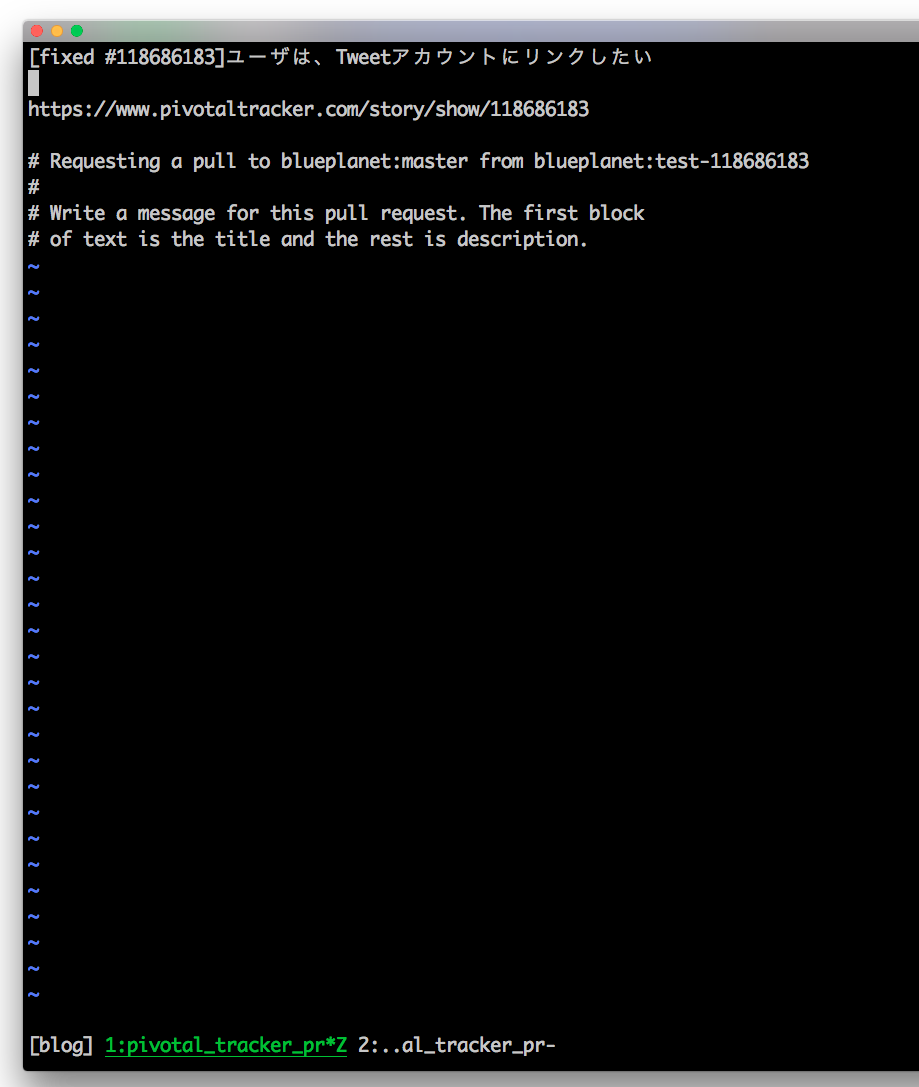 |
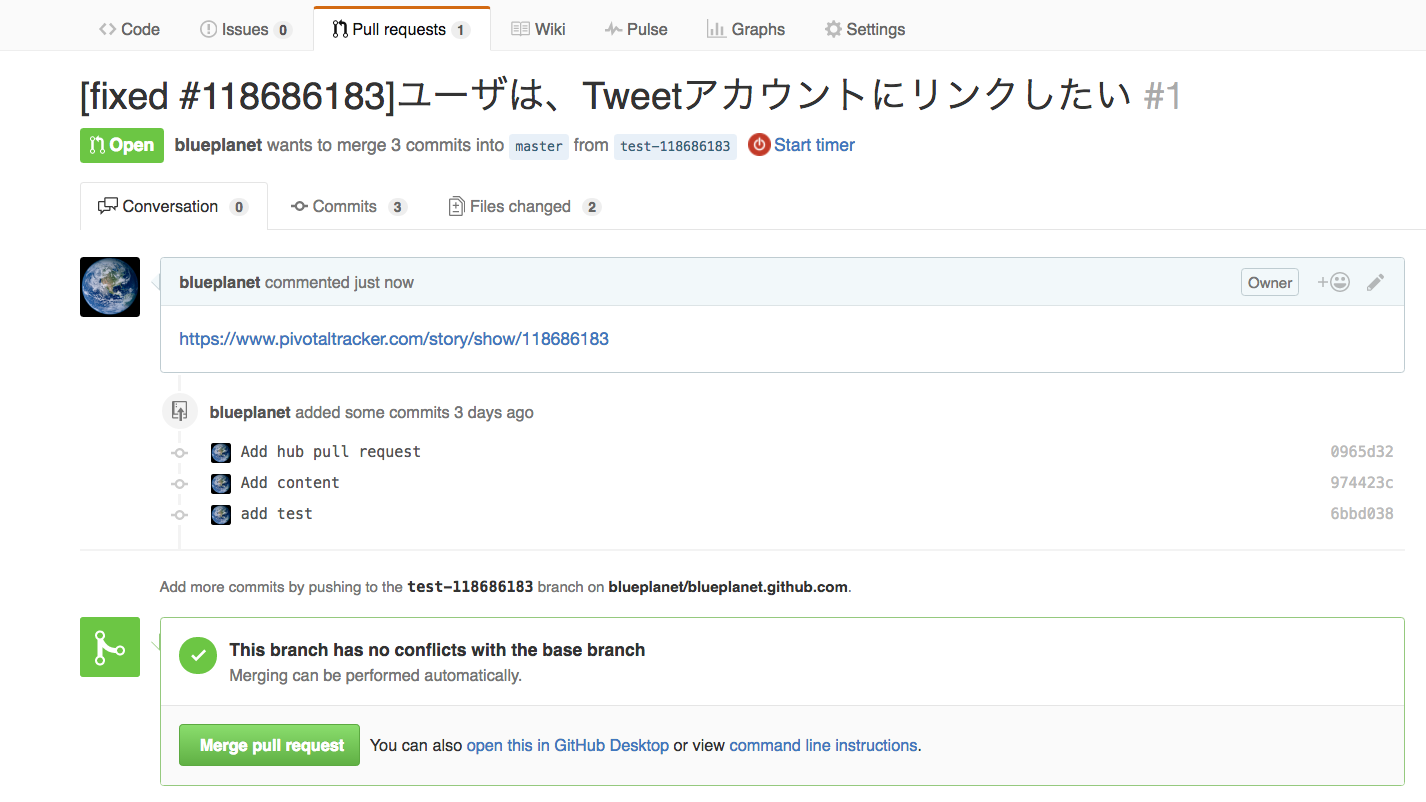 |
- カスタマイズしたい場合は、
.git/PULLREQ_MSG_TEMPLATEファイルに内容を書き出しておけば使われます。- 下記の文字列が置換される
| 置換文字列 | 置換後の内容 |
|---|---|
| {STORY_ID} | ストリーのID |
| {STORY_NAME} | ストリー内容 |
| {STORY_LINK} | ストリーのリンク |
Development
After checking out the repo, run bin/setup to install dependencies. Then, run rake spec to run the tests. You can also run bin/console for an interactive prompt that will allow you to experiment. Run bundle exec pivotal_tracker_pr to use the gem in this directory, ignoring other installed copies of this gem.
To install this gem onto your local machine, run bundle exec rake install. To release a new version, update the version number in version.rb, and then run bundle exec rake release, which will create a git tag for the version, push git commits and tags, and push the .gem file to rubygems.org.
Contributing
Bug reports and pull requests are welcome on GitHub at https://github.com/blueplanet/pivotal_tracker_pr.