magicbell-rails
Convert your email notifications to an in-app notification center. This gem makes it easy to add MagicBell's notification center widget to your rails app.
Installation
Add the magicbell gem to your app's Gemfile
gem "magicbell"
Run
bundle install
Create the initializer file config/initializers/magicbell.rb and add your MagicBell credentials there.
vim config/initializers/magicbell.rb
MagicBell.configure do |config|
  config.api_key = "your_magicbell_api_key"
  config.api_secret = "your_magicbell_api_secret"
  config.project_id = 1 # your magicbell project id
  config.magic_address = "[email protected]"
end
If you haven't signed up for MagicBell yet and don't have credentials, visit https://magicbell.io/, sign in with your google account and create a Project.
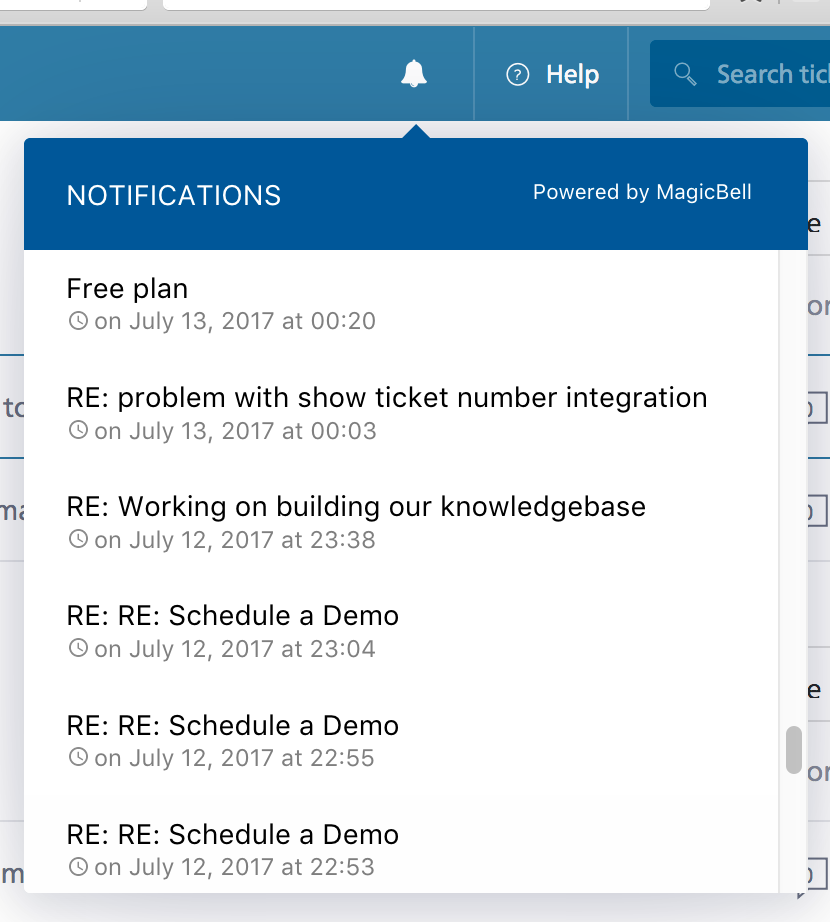
Add MagicBell's icon to your app's interface. Our customers usually add MagicBell's icon to their app's navigation bar.
<div id="magicbell_notifications" style="display:inline-block;">
  <i class="icon-magicbell"></i>
</div>
Create the partial file config/layouts/_magicbell.html.erb and copy paste the code below
<!-- MagicBell notification center widget -->
<script>
  $('<link/>', {
    rel: 'stylesheet',
    type: 'text/css',
    href: "<%= MagicBell::EXTRAS_CSS_URL %>"
  }).appendTo('head');
  $(document).ready(function () {
    // Initialize the widget after fetching its javascript
    $.getScript("<%= MagicBell::WIDGET_JAVASCRIPT_URL %>", initializeMagicBell);
  });
  function initializeMagicBell() {
    MagicBell.initialize({
      target: document.getElementById('magicbell_notifications'),
      projectId: "<%= MagicBell.project_id %>",
      apiKey: "<%= MagicBell.api_key %>",
      userEmail: "<%= current_user.email %>",
      userKey: "<%= MagicBell.user_key(current_user.email) %>"
    });
  }
</script>
Render the _magicbell.html.erb partial in your app's layout. Say, your app's layout file is config/layouts/app.html.erb, render the partial at the bottom. Here's an example
<html>
  <body>
    <p>This is your app's layout</p>
  </body>

  <%= render layouts/magicbell %>
</html>
Now, call the ring_the_magicbell method in your notification mailers. Here's an example
class NotificationMailer < ActionMailer::Base
  # This method will bcc your email notifications to your magicbell magic address
  #
  # Upon receiving the bcc'ed email notifications, magicbell.io will automatically
  # create in-app notications for users
  ring_the_magicbell

  # This is an email notification in your app
  def new_comment
    # ...
  end

  # This is another email notification in your app
  def mentioned
    # ...
  end
end
Deploy your app.
That's it! All your users now benefit from having in-app notifications.
If you've trouble adding MagicBell to your app or find yourself stuck, please don't hestitate to reach out to us at [email protected] We usually respond within 24 hours (often much lesser).
Advanced Features
ActionUrl
When a user clicks on a notification in MagicBell's widget, the widget redirects the user to the first URL the body of the email notification. We call this URL the ActionUrl.
If you wish to redirect users to a different URL instead, set a custom ActionUrl in your mailers
class NotificationMailer < ActionMailer::Base
  ring_the_magicbell

  def new_comment(comment)
    # ...
    magicbell_notification_action_url("https://myapp.com/comments/#{comment.id}")
    # ...
  end
end
Title
We use the subject of the email notification as a notification's title. If this behaviour isn't sutiable for your app, you can set a custom title in your mailers
class NotificationMailer < ActionMailer::Base
  ring_the_magicbell

  def new_comment(comment)
    # ...
    magicbell_notification_title("Richard commented on your post Drive to Lake Tahoe")
    # ...
  end
end
Metadata
Its possible to attach custom metadata to every notification. Say you wish to attach a comment's id to a new comment notification, here's how it can be done
class NotificationMailer < ActionMailer::Base
ring_the_magicbell
def new_comment(comment)
# ...
(comment_id: comment.id)
# ...
end
end
You can later use this metadata to customize the behaviour of MagicBell's widget.
Customize widget behaviour
When a user clicks on a notification in MagicBell's widget, the widget redirects the user to the notification's ActionUrl. If this behaviour isn't suitable for your app (if your app is a Single Page Application for example), you can customize it.
When initializing the widget, pass a onNotificationClick callback to customize the widget's behaviour
function initializeMagicBell() {
  MagicBell.initialize({
    target: document.getElementById('magicbell_notifications'),
    projectId: "<%= MagicBell.project_id %>",
    apiKey: "<%= MagicBell.api_key %>",
    userEmail: <%= current_user.email %>,
    userKey: "<%= MagicBell.user_key(current_user.email) %>",
    onNotificationClick: function (notification) {
      // openComment is a function that you've defined in your app's javascript to open
      // and display a specific comment to the user
      openComment(notification.meta_data.comment_id)
    }
  });
}
Managing notifications
Creating a notification
You can create notifications for users. Once MagicBell is configured, you can
call create_notification method to create a notification for a given project.
params = {
  to: "[email protected]",
  title: "Your download is ready",
  content: "Zip file to download is here",
  action_url: "https://example.com/notifications/1"
}

client = MagicBell::Client.new()
client.create_notification(params)
The response will be a Faraday response object, and methods like status and
body will be available for further inspection.
If you'd like us to add more callbacks to the widget, reach out to us at [email protected]
Documentation
Visit our Docs Site for more information on MagicBell, MagicBell's widget and Advanced Features.