Introduction
The JohnHenry Rails toolkit is meant to take care of all the menial tasks of
launching a Rails application, that are largely the same from application to
application. Using JohnHenry, you'll have the sample project live on a Heroku
subdomain of your choosing (e.g. johnhenryrails.herokuapp.com) in under ten
minutes, even if you don't know anything about Ruby on Rails!
Once you've launched your application, you can easily customize it to be a landing page to collect emails for a new product. And when you've got a feature you want users to pay for, JohnHenry's payment form is ready for you to use.
If you're already a Ruby on Rails expert, JohnHenry still provides value. It's
step 2 after rails new MyProject. Save 1-2 weeks of boilerplate development
setting up Bootstrap, Devise, Stripe, etc and concentrate on building the
product you want to build!
Technologies Included
The following libraries and technologies are configured by JohnHenry and work out of the box:
- Devise for user authentication / management
- Stripe (JS, Gem) for handling payments
- Bootstrap 3
- HAML
- SCSS
- jQuery
- Heroku-ready
Screenshots and Demo
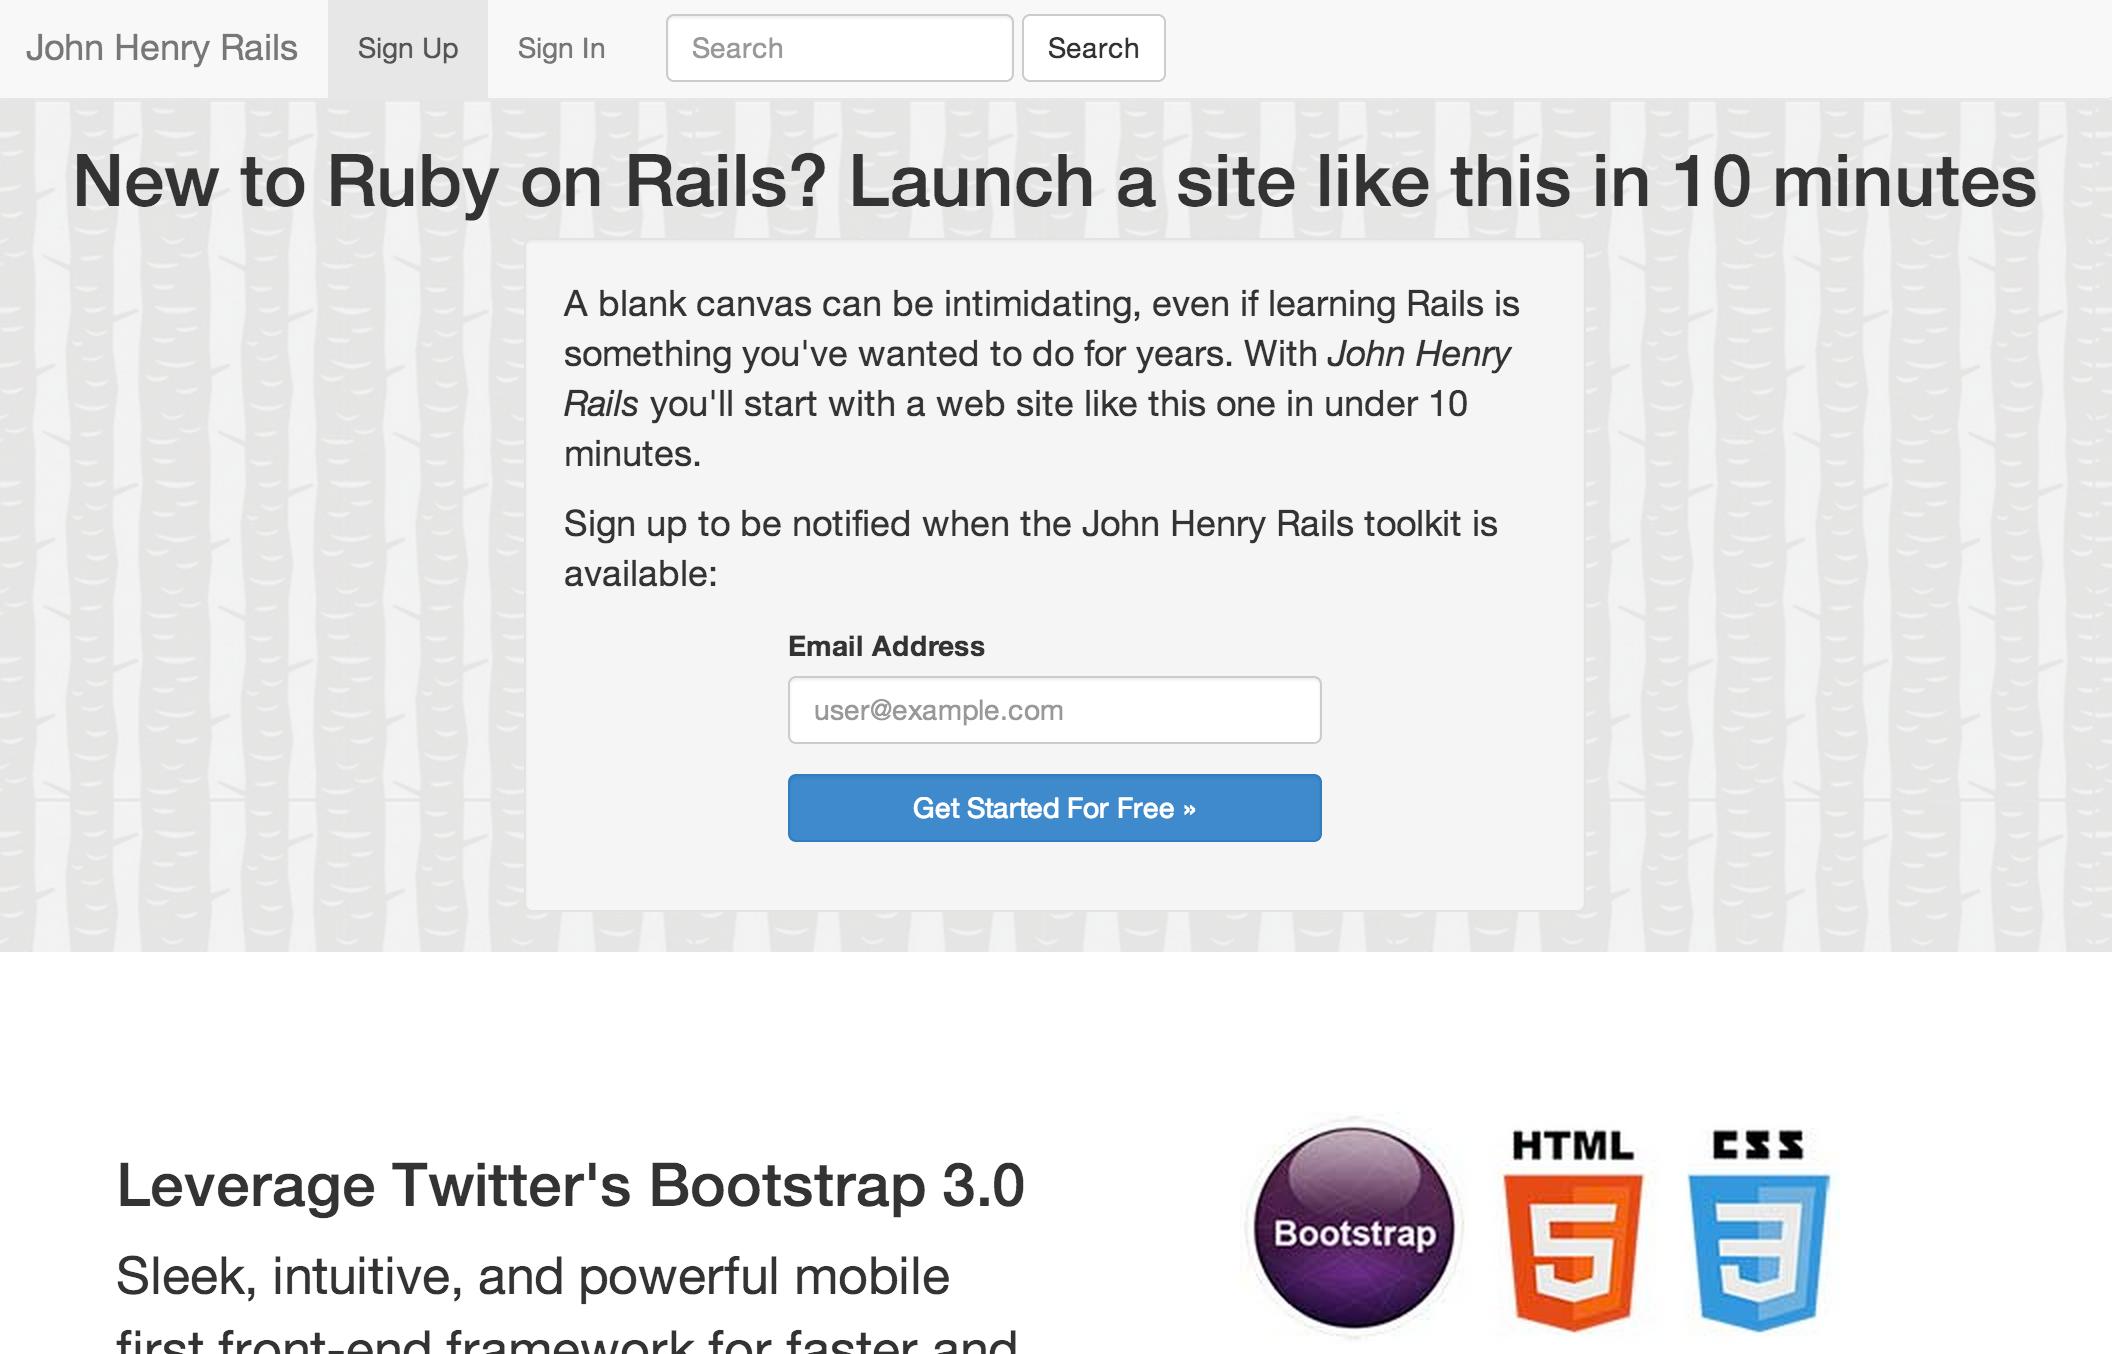
A brand new Rails 4 project with just JohnHenry is live at: http://www.johnhenryrails.com This is exactly what you will end up with after installing.
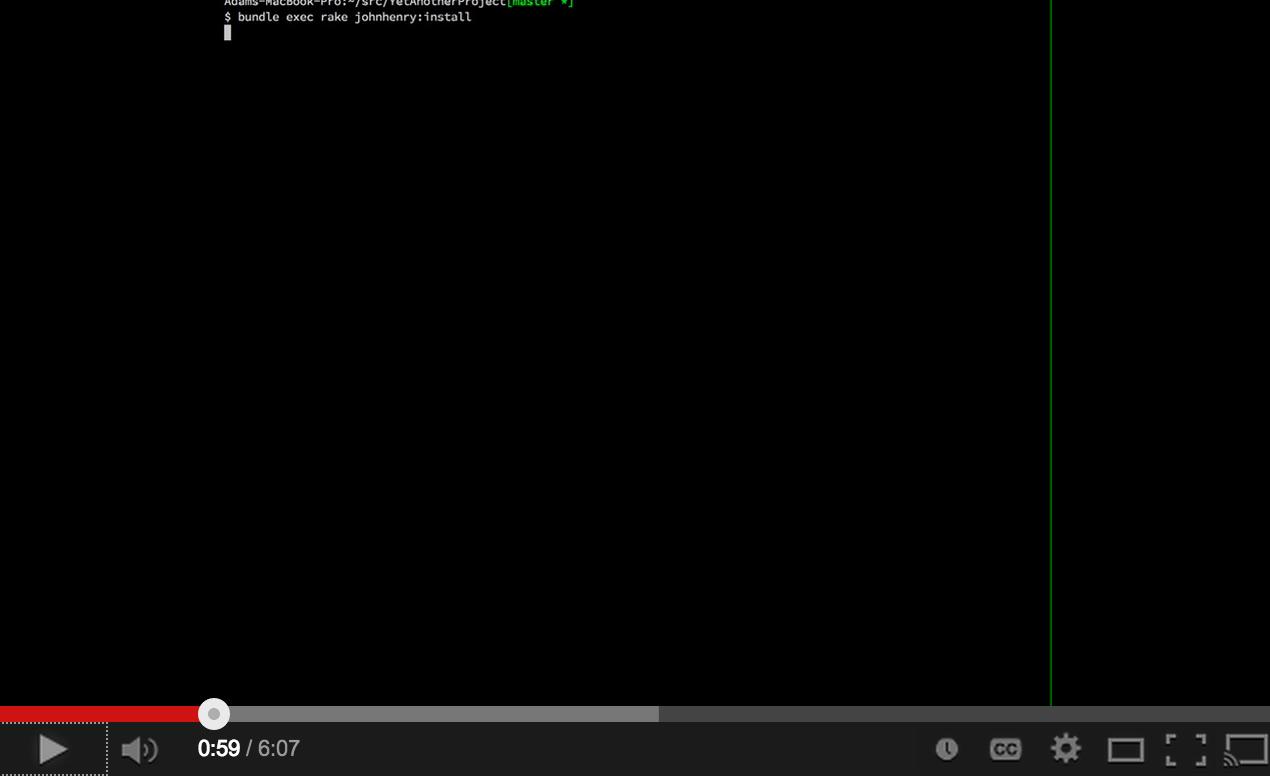
Installation screencast
Installation on Mac OS X
.. and probably Linux
All commands are run via Terminal, which you can find in your
Applications folder. If you're already using Terminal, try switching to iTerm
and see if you like it any better. Other version controls may work, but it's
assumed the user is using git. I build git from source using
brew.
Note: this assumes that you've already got Ruby 2.0 and a Rails 4.0+ gem installed. If you haven't, head over to http://rvm.io and then come back. You can verify both with:
$ ruby -v
ruby 2.0.0p247 (2013-06-27 revision 41674) [x86_64-darwin12.3.0]
Adams-MacBook-Pro:~/src/johnhenry[master *+%]
$ rails -v
Rails 4.0.2
Create a new Rails project:
rails new SampleProject && cd SampleProjectEdit
Gemfileand just belowrailsadd:gem 'johnhenry'Run
bundleto updateGemfile.lockRun JohnHenryRails installation script:
bundle exec rake john_henry:installCommit the generated changes:
   git add app config Gemfile*
   git rm app/views/layouts/application.html.erb
   git commit -m 'Install JohnHenryRails'
Install database migrations and run them
bundle exec rake john_henry:install:migrations
bundle exec rake db:migrate
git add db && git commit -m 'Add initial migrations and schema.rb'
Try the server locally:
bundle exec rails serverand load
http://localhost:3000/in your web browser of choice.Create the Heroku instance:
heroku create sampleproject # Heroku doesn't allow mixed case
git push heroku master
heroku run rake db:migrate
heroku restart
Verify in your web browser:
http://sampleproject.herokuapp.com
Congratulations! You made something on the internet!
Extended / Optional Setup
Set up Stripe and Google Analytics:
heroku config:set \
GOOGLE_ANALYTICS_DOMAIN=sampleproject.herokuapp.com \
GOOGLE_ANALYTICS_UA=UA-56346779-1 \
STRIPE_PUBLISHABLE_KEY=pk_zv4FnnuZ28LFHccVSajbQQaTxnaZl
STRIPE_SECRET_KEY=lbVrAG8WhPb2cHG9ryBBi1psT4ZREpm8
Add the free tier of SendGrid to enable user account emails:
heroku addons:add sendgrid:starterAdd pgbackups and take your first database backup:
heroku addons:add pgbackups
heroku pgbackups:capture
You can additionally schedule daily backups with Heroku's Scheduler:
heroku addons:add scheduler
heroku addons:open scheduler
Set up a monitoring service. UptimeRobot.com gives you 50 free monitors. On Heroku, this has the added benefit of keeping your site active, so that your dyno never hibernates and you never get a slow request because the dyno was waking back up.
Set up a staging instance
(optional) Add a custom domain
heroku domains:add www.johnhenryrails.comIn your Registrar's host record configuration, you must addsampleproject.herokuapp.com.as a CNAME for your domain.Set up NewRelic
heroku addons:add newrelic:stark
echo "gem 'newrelic_rpm'" > Gemfile
bundle
curl https://gist.github.com/rwdaigle/2253296/raw/newrelic.yml > config/newrelic.yml
git add config/newrelic.yml Gemfile*
git commit -m "Set up NewRelic"
heroku config:set NEW_RELIC_APP_NAME="SampleProject"
git push heroku master
Contributing
Bug fixes are welcome as pull requests against master. If you have bigger ideas,
please get in contact with me at [email protected].
License
MIT License